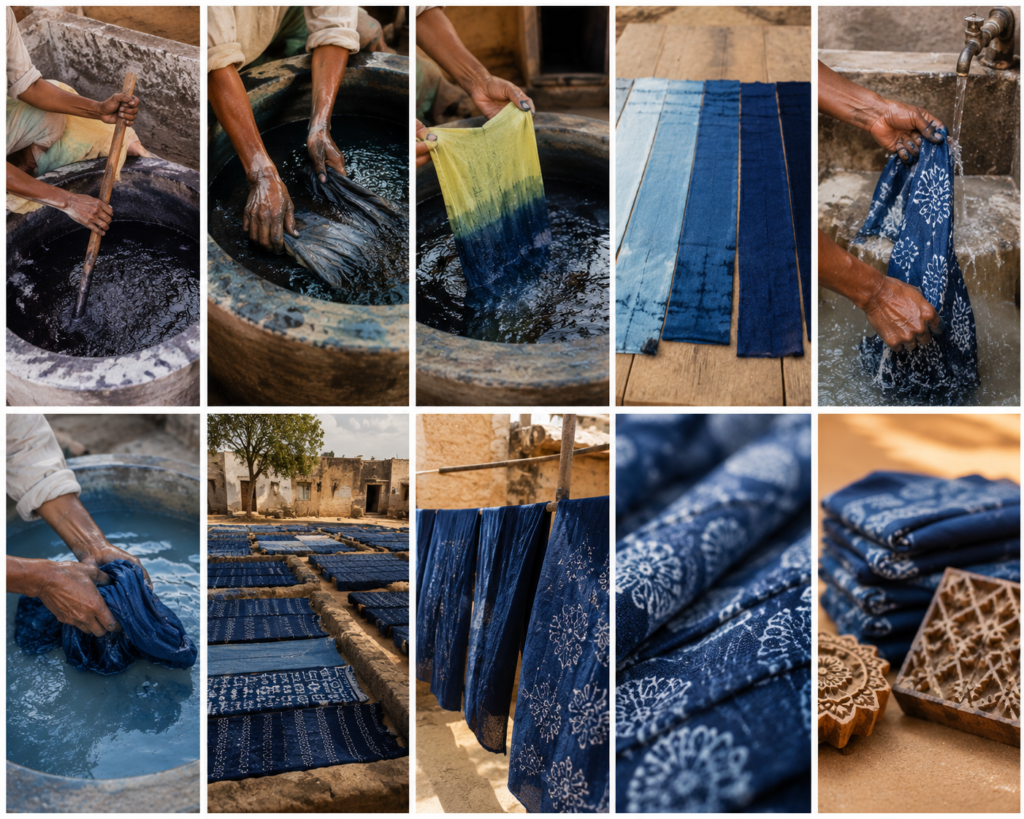
There’s a particular shade of blue you only find in Rajasthan. It’s not the blue of a swimming pool or a printed t-shirt. It’s deeper, a little uneven in places, and it seems to glow rather than just sit flat on the fabric. If you’ve ever picked up a dupatta, a cushion cover, or a bedsheet from Bagru and wondered how that colour got there, the answer is almost always the same: indigo dyeing.
A lot of people search for “indigo printing” expecting to find a printing technique, something done with a block or a machine. But indigo isn’t really printed on. It’s dyed, dipped, and coaxed out of a living vat that artisans have kept alive for generations, sometimes for years at a stretch. In this guide, we’ll clear up exactly what indigo printing means, walk through the real natural indigo dyeing process as it happens in Bagru today, look at the history behind it, and show you what it’s actually like to try it yourself at a workshop here.
Table of Contents
- What Is Indigo Printing, Really?
- A Short History of Indigo in Bagru
- The Science Behind Natural Indigo Dyeing
- Materials and Tools Used in Traditional Indigo Dyeing
- Step-by-Step: How Indigo Dyeing Happens in Bagru
- Indigo and Block Printing, Together
- Natural Indigo vs Synthetic Indigo
- Types of Indigo Dyeing Used in Bagru Workshops
- How to Care for Indigo-Dyed Fabric
- Common Mistakes First-Timers Make
- Why Natural Indigo Dyeing Matters for Sustainable Fashion
- Experience Indigo Dyeing at Anaprinta
- Why Choose Anaprinta
- Frequently Asked Questions
What Is Indigo Printing, Really?
“Indigo printing” is the term most people type into Google, but in Bagru, artisans simply call it indigo dyeing, or locally, “neel ka kaam.” The confusion is fair. Most of what Bagru is famous for is block printing, so it’s natural to assume indigo works the same way, with a carved wooden block stamping colour onto the cloth.
It doesn’t. Indigo is what’s known as a vat dye. That means the fabric is dipped into a tub of prepared dye rather than having colour pressed onto it with a tool. The strange part is that the blue doesn’t even show up while the fabric is inside the vat. It develops in the open air, right in front of your eyes, the moment the wet cloth touches oxygen. That reaction is the whole magic of indigo dyeing, and no other natural colour used in Bagru behaves quite like it.
Where block printing does enter the picture is when artisans combine indigo with a mud-resist paste, known locally as dabu, before dipping the fabric. Wherever that mud sits on the cloth, the indigo can’t reach the fibres underneath. Once the mud is washed off later, a pattern is left behind in white or a lighter blue against the deep indigo background. If you want to understand that resist technique in more depth, we’ve written about it separately in our post on the Dabu printing process.
So, in short: what people search for as indigo printing is really indigo dyeing, often paired with a resist technique to create pattern. Understanding that difference is the first step to appreciating how much skill actually goes into it.
A Short History of Indigo in Bagru
Bagru, a small town roughly thirty kilometres from Jaipur, has been printing and dyeing textiles with natural colour for close to three centuries. The Chhipa community here has passed the craft down through families, refining it generation after generation, and indigo has always held a special place among the colours they work with, alongside red from madder root and black from fermented iron filings.
Indigo itself has a much older story that stretches far beyond Bagru. Indigofera tinctoria, the plant most Indian indigo comes from, was cultivated across the subcontinent for thousands of years before synthetic dye existed. During the colonial period, indigo grown in India became a major global trade commodity, valuable enough that it shaped entire regional economies and, in several parts of the country, led to well-documented conflict between farmers and plantation owners. That history is heavy, and it’s worth knowing, even if it isn’t the focus of this guide.
What survived after synthetic indigo arrived in the late 1800s and largely took over the commercial market was the small-scale, artisan-led practice, kept alive in pockets like Bagru, Gujarat, and a few other textile regions of India. What makes Bagru’s version of natural indigo dyeing distinct even today is how tightly it’s woven into a larger printing tradition. Most places that specialise in indigo dyeing focus purely on colour: tie-dye, shibori, solid dips. In Bagru, indigo is almost always combined with hand-carved block printing and mud-resist work, which means the finished fabric carries both a dyeing tradition and a printing tradition at once. You’re not just looking at blue cloth. You’re looking at a technique that took generations, and more than one craft, to come together.
The Science Behind Natural Indigo Dyeing
You don’t need a chemistry background to follow how an indigo vat works, but knowing the basics helps you appreciate why the process looks the way it does.
Natural indigo comes from the leaves of the indigo plant. On their own, fresh leaves don’t dye anything blue. The pigment locked inside them, called indigotin, isn’t soluble in water in its natural state. To make it usable, artisans ferment the harvested indigo along with lime and other alkaline materials, in a process that can take days. This fermentation strips oxygen out of the mixture and converts the pigment into a soluble, pale yellow-green form, sometimes called “white indigo” or leuco-indigo.
This is the part that surprises most first-timers. When you dip fabric into a working indigo vat, it doesn’t come out blue. It comes out looking murky and greenish. It’s only once the fabric is lifted into open air that oxidation happens: the leuco-indigo reacts with oxygen and turns back into insoluble blue indigotin, this time trapped permanently inside the fibres of the cloth. Watching plain white cotton turn from green to blue in under a minute, right in your own hands, is genuinely one of the most memorable parts of an indigo dyeing session.
A well-maintained indigo vat can be kept alive for months, sometimes years, with regular feeding of lime, alkaline material, and rest. Experienced dyers can tell a vat’s condition just from its smell, its surface colour, and the amount of foam, often called the “indigo flower,” that forms on top before deciding whether it’s ready to use that day. Getting this balance right is a skill in itself, and it’s usually the most senior dyer in a workshop who manages the vat.
Materials and Tools Used in Traditional Indigo Dyeing
Before we walk through the process itself, it helps to know what actually goes into a traditional indigo setup. None of it is complicated machinery. Most of what’s needed has been used in Bagru for generations, unchanged:
- Indigo cakes or powder. Dried, compressed indigo pigment, either extracted from plants locally or sourced from indigo-growing regions.
- Lime (chuna). Used to raise the alkalinity of the vat, which is necessary for the fermentation reaction to happen.
- Jaggery or fructose. Acts as a natural reducing agent in some traditional vat recipes, helping keep oxygen out of the mixture.
- Large earthen or cement vats. Deep enough to fully submerge fabric, and usually kept partly underground to maintain a stable temperature.
- Wooden stirring paddles. Used to mix the vat gently without introducing too much oxygen too early.
- Mud-resist paste (dabu). A mixture of clay, gum, and lime used when a printed pattern is needed instead of a plain dyed cloth.
- Hand-carved wooden printing blocks. Used to apply the resist paste in patterns before dyeing.
- Cotton or other natural fabric. Pre-washed to remove starch and finishing chemicals so the dye takes evenly.
Simple materials, but the ratios, timing, and vat maintenance are where decades of experience actually matter.
Step-by-Step: How Indigo Dyeing Happens in Bagru
Here is what the full indigo dyeing process looks like in practice, from raw fabric to finished cloth.
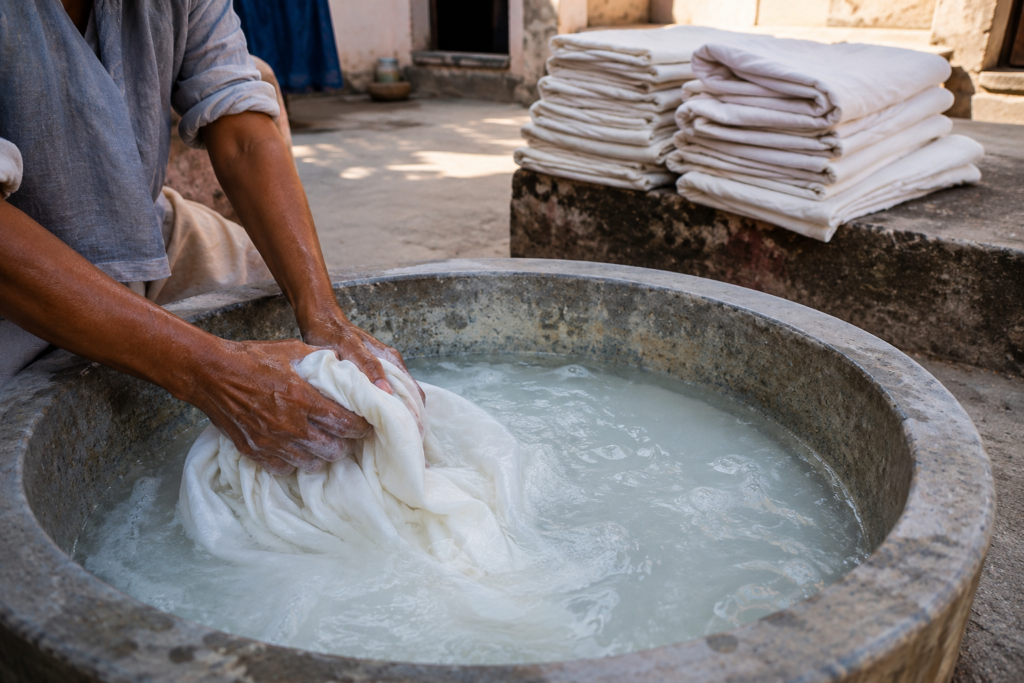
1. Preparing the fabric Cotton or fabric arriving for indigo dyeing is washed thoroughly first, to remove starch, oil, and any finishing chemicals left over from weaving. Clean fabric absorbs dye far more evenly, so this step is never skipped, even though it adds an extra round of drying time before the real work even begins.
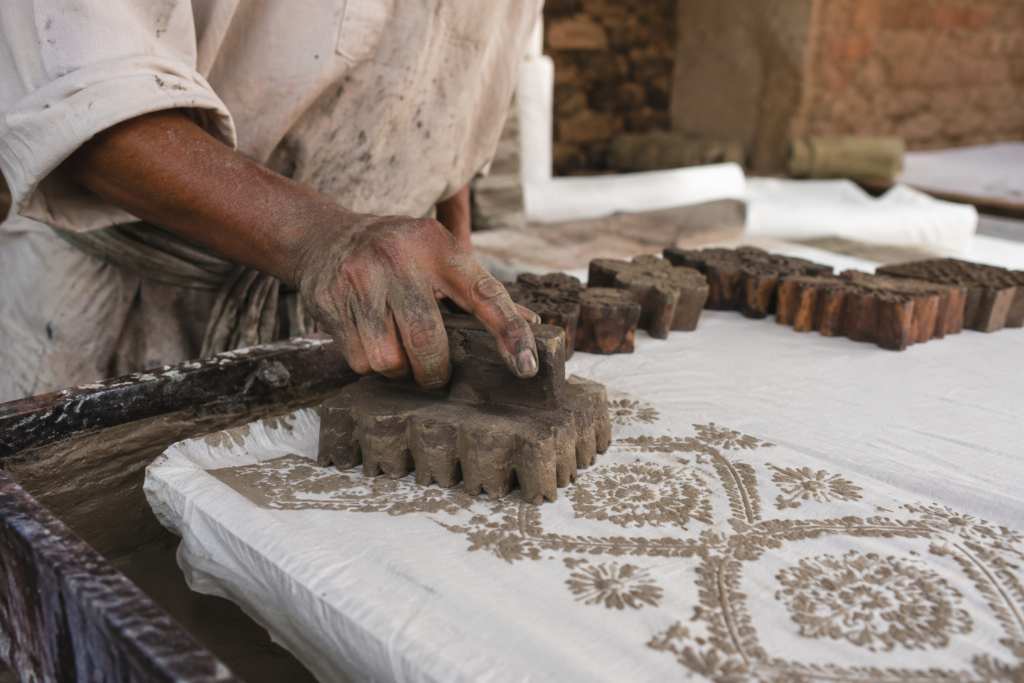
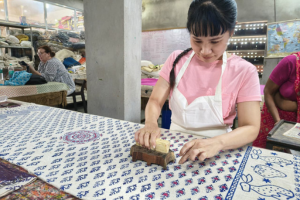
2. Applying the resist, if a pattern is wanted If the final piece is meant to have a printed pattern rather than a plain wash of blue, artisans apply a mud-resist paste using hand-carved wooden blocks at this stage. This is the same dabu technique used across many Bagru prints. Wherever the mud sits, the indigo won’t be able to reach the cloth underneath it.
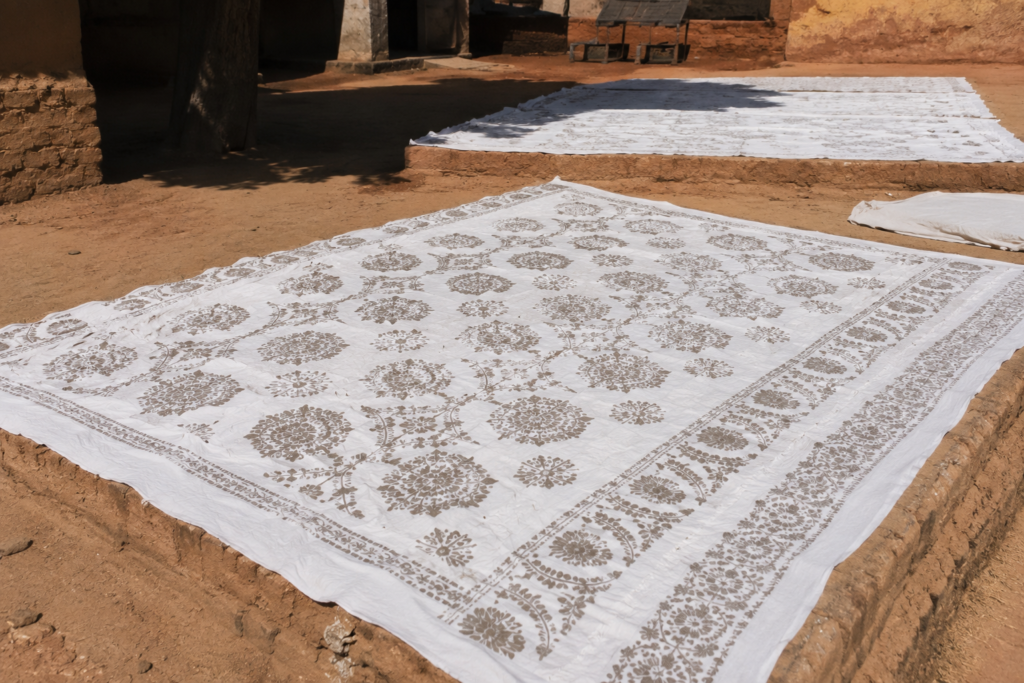
3. Letting the resist dry completely The mud paste needs to dry fully and harden before dyeing begins, otherwise it can smudge or crack in the vat and ruin the clean edges of the pattern. Depending on humidity, this can take anywhere from a few hours to overnight.
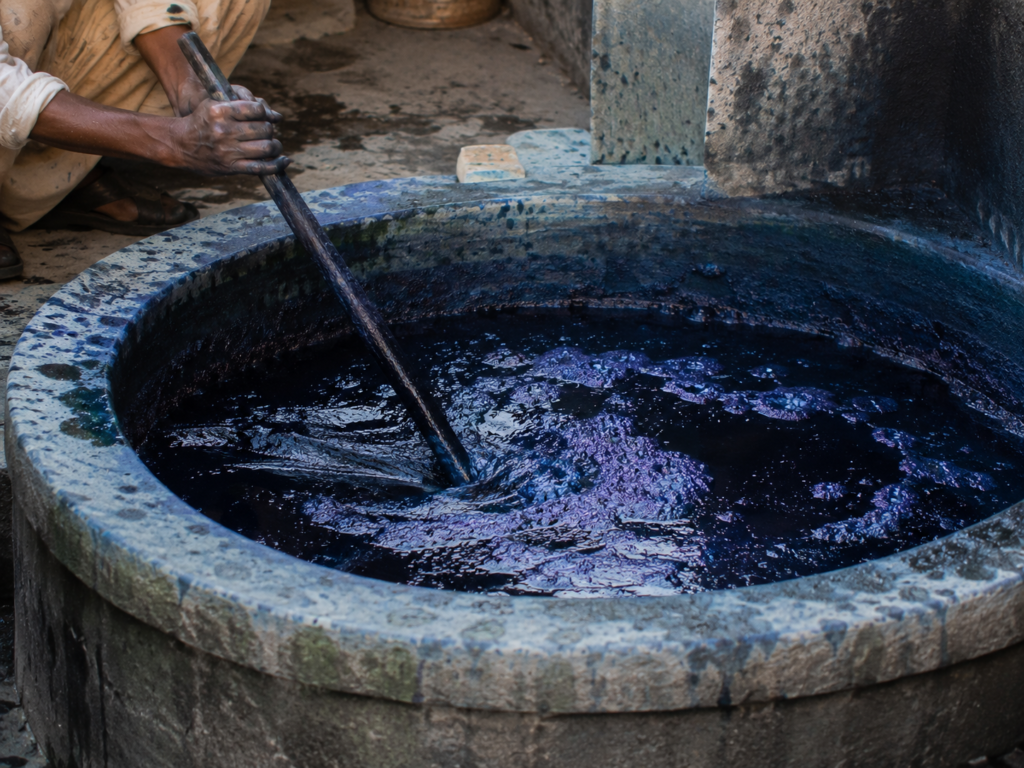
4. Checking and preparing the vat Before any fabric goes in, the dyer checks the vat’s readiness, looking at colour, smell, and the foam on the surface. If it needs feeding with more lime or reducing agent, that happens now, sometimes a full day in advance.
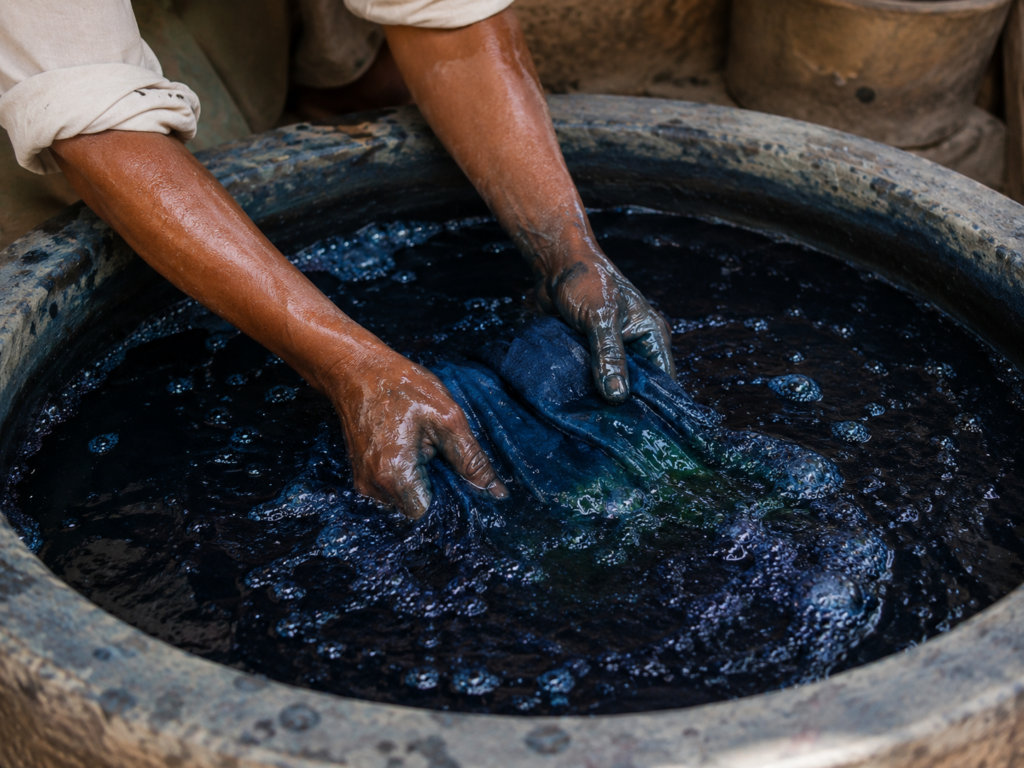
5. Dipping into the vat The fabric is lowered into the prepared indigo vat and worked through the liquid gently, so the dye reaches every fibre evenly. This part has to be handled carefully. Too much agitation introduces oxygen into the vat too early and can throw off the entire chemical balance for future dips.
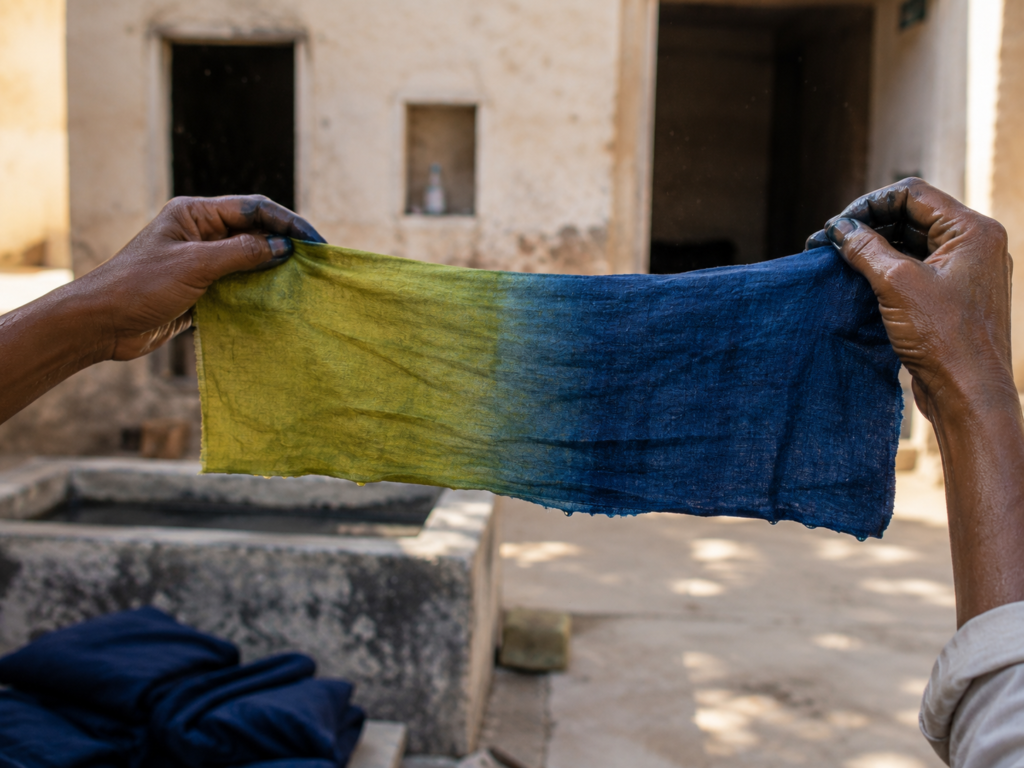
6. Oxidising in open air The fabric is lifted out and left exposed to air for several minutes. This is when the actual colour change happens, yellow-green shifting visibly into blue as oxygen reaches every part of the wet cloth.
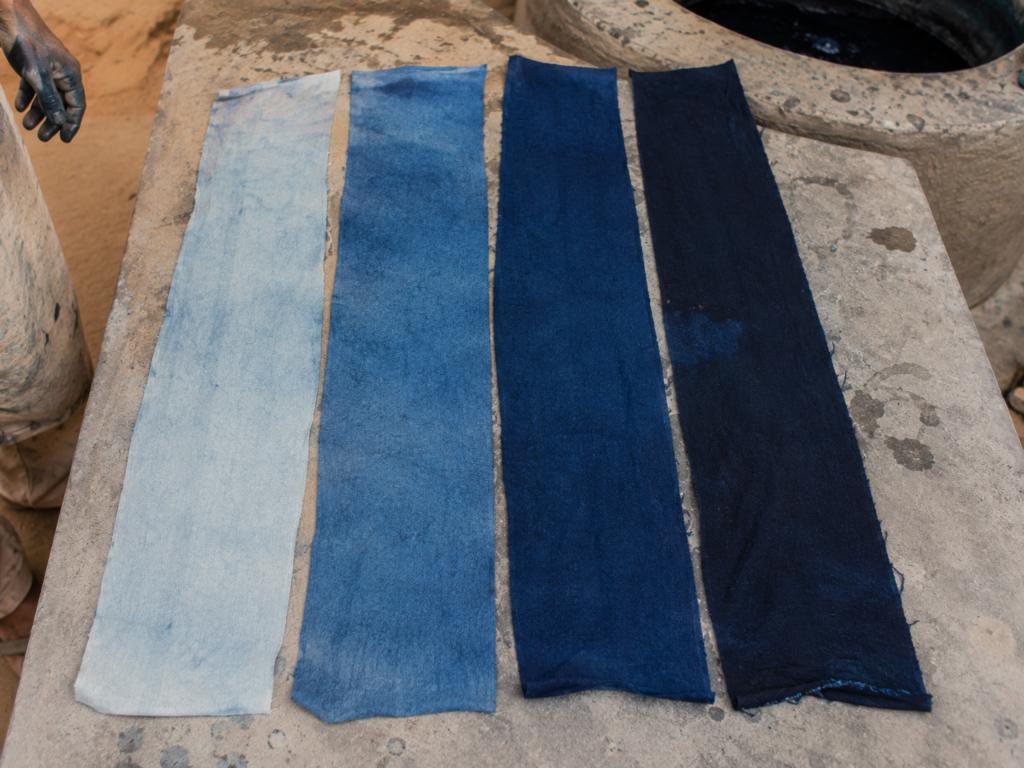
7. Repeating the dip One dip gives a light, pale blue. Reaching the deep, almost black-blue shade Bagru is known for can take anywhere from four to ten dips, with a full oxidation break between each one. The number of dips decides how dark the final colour turns out. It isn’t about using more dye in one go, it’s about repetition and patience.
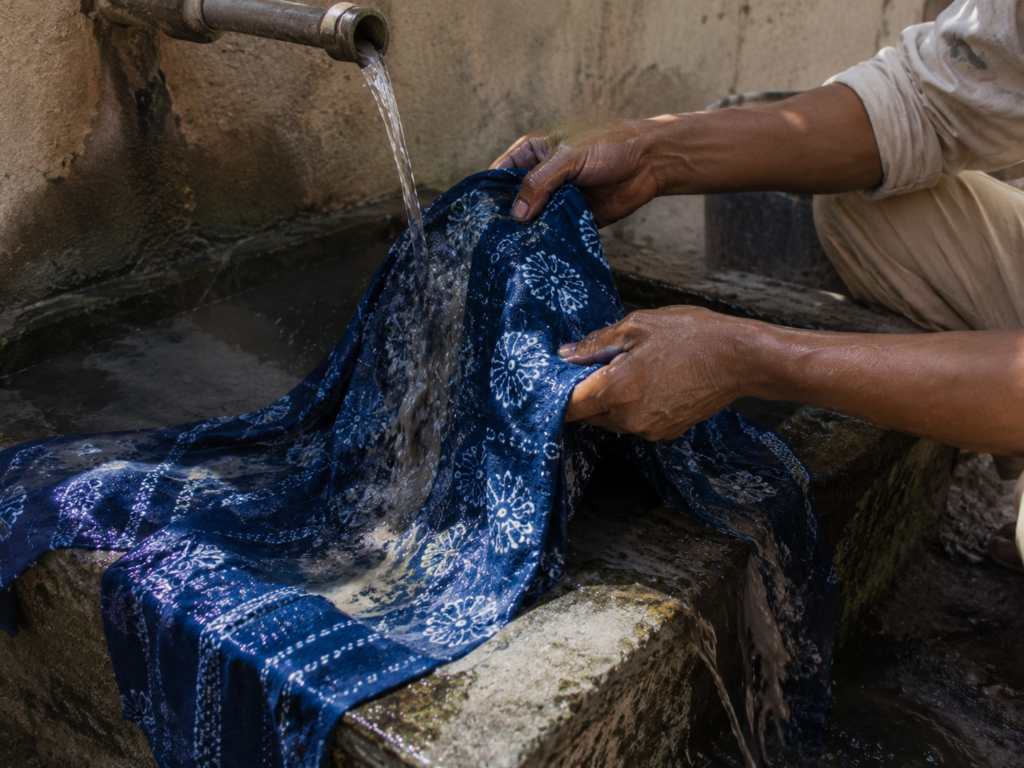
8. Washing off the resist If mud-resist paste was applied earlier, the fabric is washed thoroughly at this stage, usually in running water. The mud comes away completely, revealing the pattern underneath in a lighter shade against the indigo background.
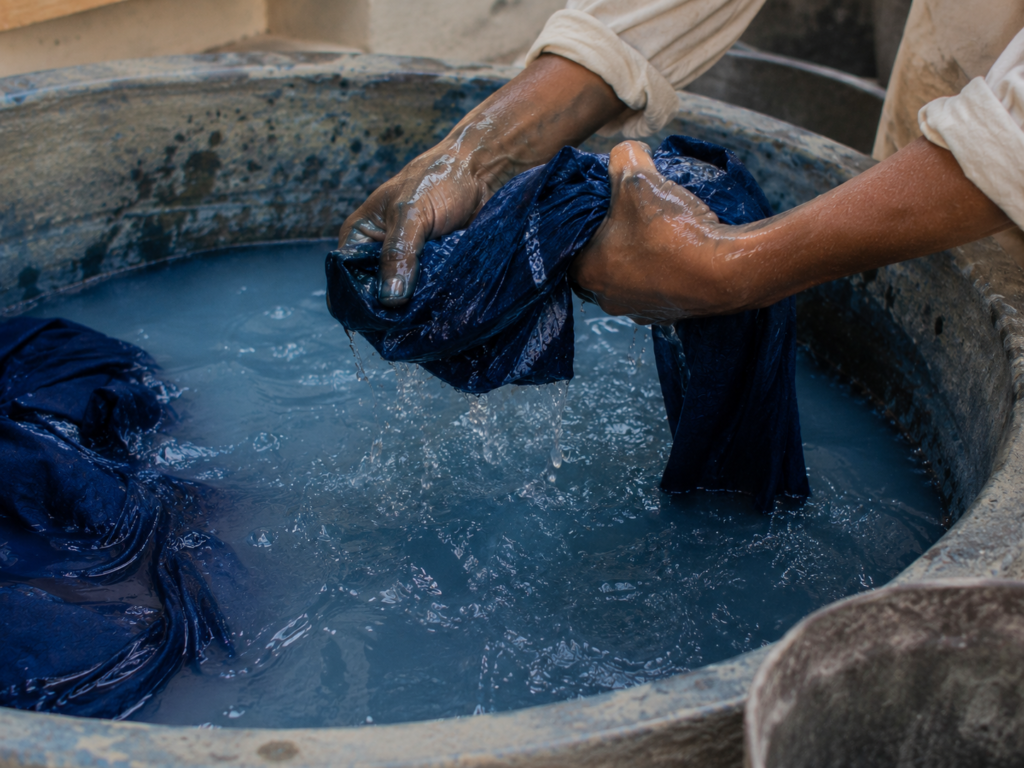
9. Rinsing to remove excess dye Even without a resist pattern, freshly dyed indigo fabric is rinsed multiple times to remove loose pigment sitting on the surface. This step reduces how much colour bleeds out the first few times the fabric is washed at home later.
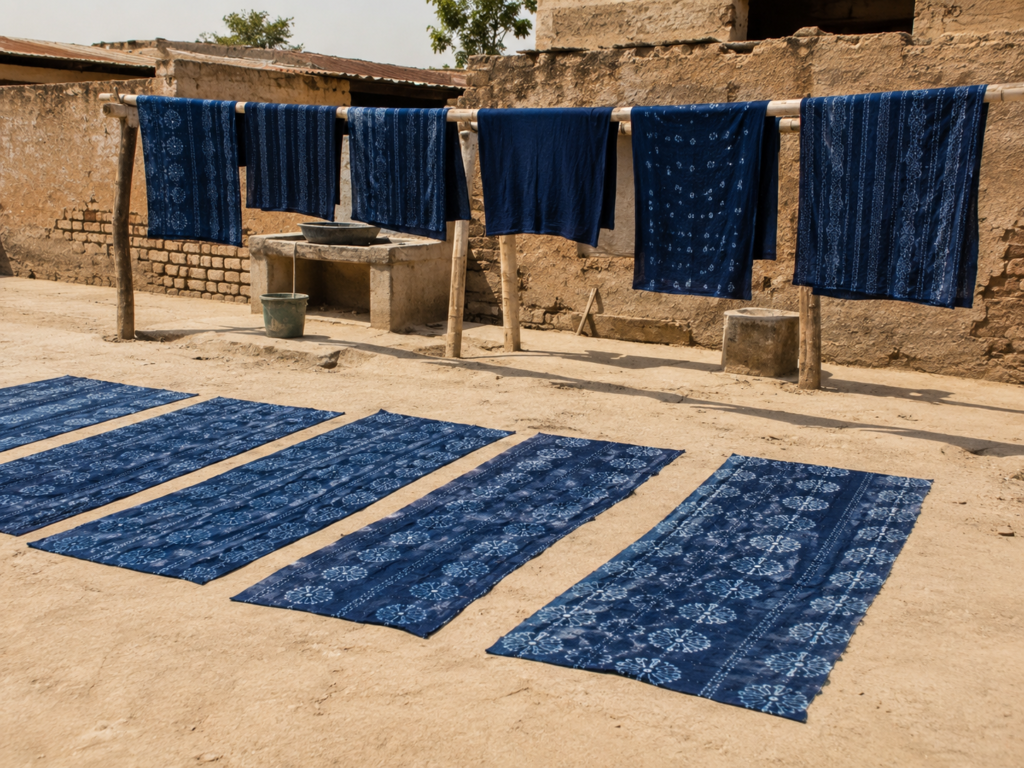
10. Sun drying and finishing Finally, the fabric is laid out to dry under direct sun, the same open courtyards you’ll see in most photographs of Bagru’s “Fields of Color.” Sun drying isn’t only practical here, it also helps set the colour more firmly and gives the fabric its slightly textured, handmade finish.
Done properly, this entire sequence can take a full day or more per batch, sometimes spread across two days if multiple dips and a long resist-drying period are involved. That’s a big part of why hand-dyed indigo fabric feels so different from anything made on a machine.
Indigo and Block Printing, Together
It’s worth spending a moment on why indigo and block printing so often show up together in Bagru, rather than as separate crafts.
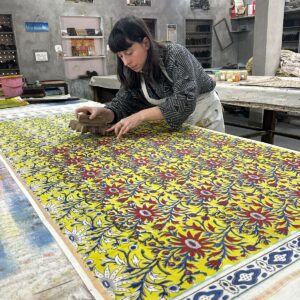
On its own, a plain-dyed indigo cloth is beautiful, but it’s still just one colour. Combining it with dabu resist block printing turns that same base into something with pattern, structure, and detail, using nothing but mud, wood, and the dye itself. This combination, sometimes called indigo-dabu printing, is one of the more technically demanding styles in Bagru, because the resist has to be applied with precision and dried completely before it ever touches the vat.
Some pieces go through this cycle more than once, with mud reapplied between dips to build up multiple tones of blue in a single design. It’s slow, and it leaves very little room for error, which is exactly why it’s still considered one of the more respected skills within Bagru’s printing community.
Natural Indigo vs Synthetic Indigo: What’s the Difference?
It’s worth knowing this before you shop for, or learn, indigo dyeing anywhere, including Bagru. Since the late 1800s, most commercial “indigo,” including the blue in your jeans, has been synthetic, produced in a lab rather than fermented from plants. Synthetic indigo is cheaper, faster to produce, and gives a more consistent colour result every single time.
Natural, plant-based indigo, on the other hand, is slower, less predictable, and depends heavily on weather, water quality, and how well the vat has been fed and rested that week. But it also behaves differently over time. Natural indigo fades softly and unevenly across years of washing and wear, developing a character that synthetic dye simply doesn’t replicate. Many artisans in Bagru, including those we work with, still use fermentation-based natural indigo for this reason, alongside chemically prepared indigo sulphate methods for jobs where a faster, more uniform result is needed. If getting genuinely plant-fermented indigo matters to you, it’s a fair question to ask directly whenever you’re comparing workshops, sellers, or finished products.
Types of Indigo Dyeing Used in Bagru Workshops
If you’re planning to join a workshop, it helps to know that “indigo dyeing” can actually mean a few different methods depending on where you go and what’s being taught:
Natural fermentation vat dyeing. The traditional method described above, using plant-derived indigo, lime, and a slow fermentation process. This is the most time-intensive method and the one most closely tied to Bagru’s older traditions.
Indigo sulphate dyeing. A chemically prepared indigo compound that dissolves more predictably and is commonly taught in shorter workshop formats, since it removes some of the variability of a live fermentation vat. This is one of the methods included in our own Two-Day Workshop.
Kashish (ferrous sulphate) dyeing. Often taught alongside indigo, this uses iron rather than indigo pigment to produce dark, near-black tones, and is frequently combined with indigo dyeing in the same piece for contrast.
Knowing which method a workshop actually teaches is worth asking about upfront, since the experience, timing, and final result can vary quite a bit between them.
How to Care for Indigo-Dyed Fabric
If you’re bringing home a piece of indigo-dyed fabric, whether from a workshop or as a finished purchase, a little care goes a long way in keeping the colour looking good for years.
- Wash separately for the first few washes. Natural indigo releases some loose pigment early on, so keep it away from lighter fabrics until the colour settles.
- Use cold water and a mild detergent. Hot water and harsh detergents strip colour faster than necessary.
- Avoid direct, prolonged sun exposure while drying. A short time in the sun is fine and even traditional, but extended exposure can fade indigo faster than air-drying in shade.
- Iron on the reverse side. This protects the surface colour and any printed pattern from direct heat.
- Expect gradual fading, and treat it as a feature, not a flaw. Part of what makes natural indigo special is how it ages. A softly faded indigo dupatta after a few years of wear tells its own story.
Common Mistakes First-Timers Make With Indigo Dyeing
If you’re trying indigo dyeing for the first time, whether at home or in a workshop, a few small missteps come up again and again. Knowing them ahead of time makes the whole experience smoother.
Expecting the fabric to turn blue inside the vat. This trips up almost everyone. The cloth comes out green or yellow-green, and it’s easy to assume something went wrong. It hasn’t. The blue only appears once air reaches the fabric.
Over-handling the vat. Stirring too vigorously or dipping fabric in and out too quickly introduces excess oxygen into the vat before it’s meant to be there, which can weaken the dye’s effectiveness for the next person or the next dip.
Skipping oxidation time between dips. Rushing straight from one dip to the next without letting the fabric fully oxidise in between usually results in patchy, uneven colour rather than the smooth depth of blue you’re aiming for.
Assuming one dip is enough. A single dip gives a pale, washed-out blue. If you’re expecting the deep indigo shade you’ve seen in photos, you’ll need several rounds of dipping and oxidising, not one.
Not pre-washing the fabric. Any starch, oil, or finishing chemical left on new fabric can block the dye from bonding evenly, leading to blotchy patches once it dries.
At a guided workshop, artisans manage most of this for you, which is part of why the results look so consistent compared to trying it alone for the first time.
Why Natural Indigo Dyeing Matters for Sustainable Fashion
Interest in natural dyeing has grown steadily over the past decade, largely as a response to how much water, chemical waste, and synthetic runoff conventional textile dyeing produces. Natural indigo dyeing, done the traditional Bagru way, sits at the opposite end of that spectrum.
The core ingredients, plant-derived indigo, lime, and natural reducing agents, are biodegradable, and the process itself doesn’t rely on the harsh chemical fixatives often used in synthetic dye baths. Sun drying instead of machine drying also cuts down on energy use significantly across a batch of fabric.
None of this means natural indigo dyeing is without impact. Water use for washing and rinsing fabric is still real, and vat maintenance takes ongoing resources. But compared to large-scale synthetic dyeing, the footprint of a small, artisan-run natural indigo setup like the ones in Bagru is considerably smaller, and it supports a local craft economy rather than an industrial supply chain.
For anyone buying or learning indigo dyeing today, this is often as much a part of the appeal as the colour itself: it’s a textile tradition that was sustainable long before the word became a marketing trend.
Experience Indigo Dyeing Yourself at Anaprinta’s Bagru Workshop
Reading about indigo dyeing is one thing. Standing over a vat, watching your own piece of cloth turn from green to blue in your hands, is a completely different experience, and it’s one you don’t need any prior craft background to try.
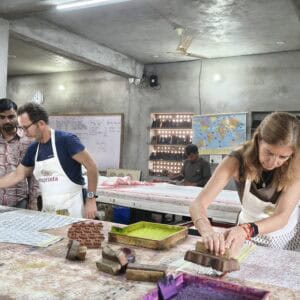
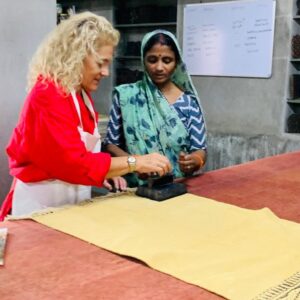
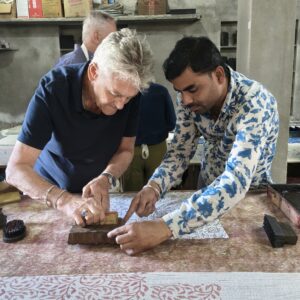
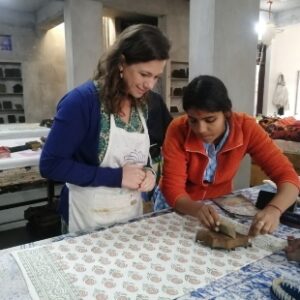
At our studio in Bagru, indigo is part of our Two-Day Workshop, where you get hands-on time with both indigo sulphate dyeing and kashish (ferrous sulphate) dyeing, alongside the traditional dabu resist technique and the mordanting process that goes with it. You’re not watching from the side. You’re mixing, dipping, lifting, and drying fabric yourself, guided step by step by artisans who’ve been doing this since childhood.
If you’d like to build up to it gradually, our One-Day and One-Day 2.0 Workshops are a gentler introduction to block printing and eco-printing techniques first, before you move into a longer indigo workshop session that includes dyeing. You can see the full breakup of timings, pricing, and what each session covers on our Workshops page.
What a Typical Workshop Day Looks Like
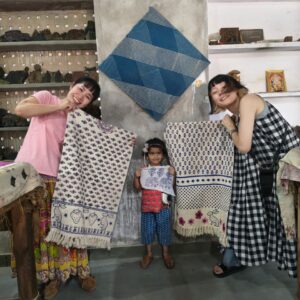
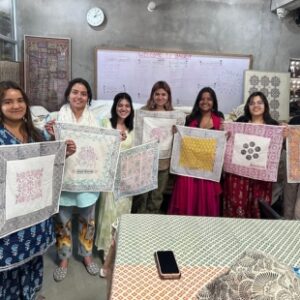
Most sessions run from 9 AM to 2 PM, and lunch is included regardless of which workshop you choose. You’ll start with a short introduction to the craft and a walk through Bagru’s “Fields of Color,” where freshly dyed fabric dries in the open sun. From there, you move into hands-on printing and, depending on your workshop, dyeing, with an artisan guiding you at every stage. You’ll leave with a finished piece you made yourself, whether that’s a tote bag, scarf, or fabric length.
There’s no dress code beyond wearing something you don’t mind getting a little dye on, and no prior experience is expected or required.
Why Choose Anaprinta for Your Indigo Dyeing Experience?
There’s no shortage of workshops around Bagru that mention indigo somewhere in their itinerary, so it’s fair to ask what makes doing it with us worthwhile.
We work directly with artisans, not intermediaries. Every session is led by craftspeople from the Chhipa community itself, the same families that have kept this tradition alive in Bagru for generations. You’re learning from people who grew up around the vat, not from a generic tour guide reading off a script.
You get real hands-on time, not a demonstration. A lot of workshops amount to watching someone else dye fabric while you take photos. At Anaprinta, you print, dip, and finish your own piece, and take it home with you at the end of the day.
Our dyes and mordants are natural and skin-safe. From the indigo to the mordanting process, everything used is chosen with sustainability and safety in mind, so what you’re learning is the real traditional craft, not a shortcut version of it.
It’s more than a class, it’s a full day in Bagru. Between the workshop itself, a walk through the Fields of Color, and a local lunch included in every session, you leave with a real sense of the place, not just a dyed scarf.
We’re set up for travelers, not just locals. With comfortable stay options alongside the workshops, and a studio that regularly hosts visitors from outside India, you don’t need to already know the craft, or even the country, to have a smooth, well-guided experience. You can read more about our studio and story on our About Us page.
If you’ve already read about our hand block printing workshops, indigo dyeing is really the next layer of that same story: the colour behind the pattern.
Frequently Asked Questions About Indigo Dyeing
Is indigo dyeing done with a machine or by hand? In Bagru, it’s entirely done by hand, from fermenting the vat to dipping and drying the fabric in the sun.
How long does it take to dye fabric with indigo? A single piece can take anywhere from a few hours to a full day, depending on how deep the blue needs to be and how many dips are required.
Will the indigo colour fade over time? Natural indigo does soften with washing and wear, but that gradual fading is considered part of its charm, not a flaw. It’s what gives well-worn indigo fabric its character.
Can beginners join an indigo dyeing workshop with no experience? Yes. Our artisans guide you through every step, so no prior experience with dyeing or printing is needed to join.
What’s the difference between indigo dyeing and dabu printing? Dabu is a mud-resist technique used to create pattern. Indigo is the dye itself. The two are very often used together, since the mud blocks the indigo from reaching certain parts of the fabric, which is what creates the pattern once it’s washed off.
Is natural indigo dyeing safe for skin and the environment? Yes, when done using traditional plant-based methods and natural mordants, indigo dyeing is considered one of the more skin-safe and environmentally gentle dyeing processes compared to synthetic alternatives.
Does indigo dyeing work on all types of fabric? Natural fibres such as cotton, silk, linen, and wool take indigo dye well. Synthetic blends generally absorb far less colour and are not commonly used in traditional Bagru dyeing.
How many dips does it take to get a deep blue colour? It varies by vat and desired shade, but reaching a deep, dark blue typically takes anywhere from six to ten dips, each followed by a period of oxidation in open air.
Can I bring my own fabric to dye at a workshop? This depends on the specific session, so it’s best to check directly with us before your visit if you have a particular fabric or garment in mind.
In Short
Indigo printing isn’t printing in the way most people picture it. It’s a slow, hands-on natural indigo dyeing process built on fermentation, patience, and repeated dipping, very often combined with mud-resist block printing to create pattern. It’s one of the oldest textile traditions Bagru is known for, and it’s still practiced today largely the way it was generations ago.
If reading about it has made you want to see, and feel, that blue for yourself, the best way is still to stand next to the vat. You can check dates and book a spot on our Workshops page, or get in touch if you have questions before you visit.